
When your domain is registered with Namecheap, hosted on Hostinger, and connected to Cloudflare, it’s common to run into this frustrating message:
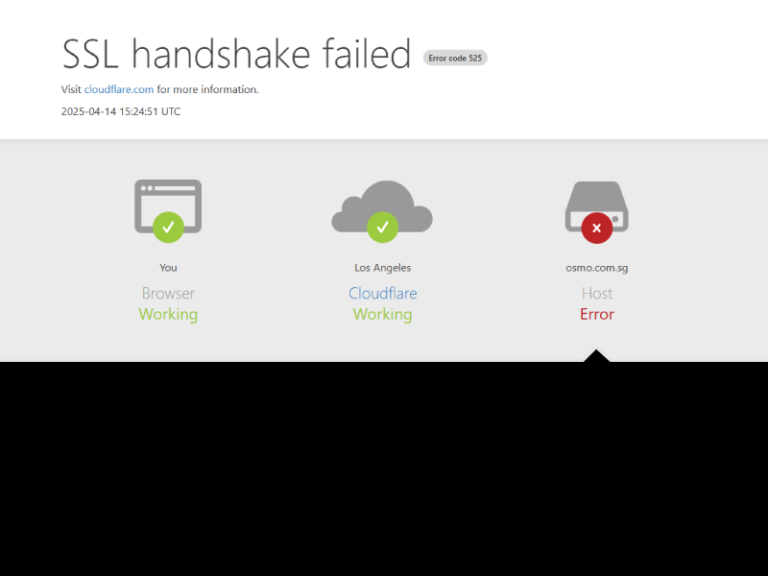
❌ “SSL Handshake Failed – Error 525”
If you’re seeing this error, it’s because Cloudflare can’t establish a secure HTTPS connection with your Hostinger server. This usually happens when your domain isn’t pointed to Hostinger’s nameservers, making Hostinger’s SSL auto-installation fail.
But don’t worry, there are multiple ways to fix this, even without changing your DNS away from Cloudflare.
🔍 What Causes the SSL Handshake to Fail?
Here’s what’s really going on:
- You bought your domain from Namecheap
- You connected it to Cloudflare (using Cloudflare’s nameservers)
- Your website is hosted on Hostinger
- But Hostinger can’t auto-install SSL because the domain isn’t pointing to its own DNS
Since Cloudflare is now the middleman, Hostinger can’t verify domain ownership via DNS to install Let’s Encrypt or PositiveSSL.
✅ Your Fix Options (Without Changing Nameservers)
Let’s go through 3 working solutions, so you can keep Cloudflare active and secure your site with HTTPS.
🟢 Option 1: Install a PositiveSSL Certificate Manually (Recommended if You Already Bought It)
✨ Best for:
- Domains with existing SSL certificates from Namecheap
- Users who want a secure, long-term fix without pausing Cloudflare
✅ Step-by-Step:
1. Generate a CSR and Private Key from Hostinger
- Log into Hostinger hPanel
- Go to:
Websites → Manage → Advanced → SSL - Choose “Generate CSR”
- Fill in your details and generate the CSR
- Copy the CSR code and Private Key and save the Private Key safely
2. Activate Your SSL in Namecheap
- Log into Namecheap
- Go to: SSL Certificates → Click Activate
- Paste the CSR you got from Hostinger
- Choose “Other” or “cPanel” as server type
- Complete domain control verification (Email or DNS)
- Wait for certificate issuance (can take up to a few hours)
3. Download the Issued SSL Files
Once approved, download the certificate ZIP. It includes:
yourdomain_com.crt(Certificate)ca-bundleorintermediate.crt(CA Bundle)
4. Install the Certificate on Hostinger
- Go back to Hostinger’s SSL section
- Choose “Install SSL manually”
- Paste:
- Private Key (from CSR step)
- Certificate (CRT file from Namecheap)
- CA Bundle (from Namecheap)
- Save and install
5. Update Cloudflare SSL Mode
- In Cloudflare → SSL/TLS → Set to “Full”
- ✅ Done! Your SSL handshake will now work properly
🟡 Option 2: Temporarily Pause Cloudflare to Use Let’s Encrypt
✨ Best for:
- Users who want a quick fix using free SSL
- Haven’t activated any PositiveSSL yet
✅ Steps:
- Pause Cloudflare
- Cloudflare → Dashboard → Overview → Click “Pause Cloudflare on site”
- Wait 5–10 mins for DNS propagation
- Install Let’s Encrypt SSL in Hostinger
- Go to Hostinger → SSL → Click Install Let’s Encrypt
- Wait for successful activation
- Resume Cloudflare
- Go back to Cloudflare → Click “Enable Cloudflare”
- Set SSL mode to Full (not Strict)
- Test your site
- Visit
https://yourdomain.com - ✅ You should see a secure connection!
- Visit
🔐 Option 3: Use a Cloudflare Origin Certificate (Advanced)
Only for users on VPS or Hostinger plans that support SSH or full control panel access.
Cloudflare allows you to generate an Origin SSL Certificate that encrypts traffic from Cloudflare → your server, even if browsers can’t validate it directly.
This certificate:
- Secures Cloudflare → Hostinger connection
- Won’t throw a browser lock unless misconfigured
- Requires custom server access (cPanel/SSH)
⚠️ Hostinger shared plans don’t currently support this method out of the box.
🧠 Bonus: What Not to Do
| ❌ Don’t | Why |
|---|---|
| ❌ Try installing certs via File Manager | SSL lives at the server level, not file system |
| ❌ Use Cloudflare’s “Flexible” mode | It’s insecure — encrypts from browser → Cloudflare, but not Cloudflare → server |
| ❌ Keep switching between Full and Strict randomly | Cloudflare handshake will break unless a proper SSL exists at origin |
🧪 Final Check Tools
After you install your certificate:
- 🔍 SSL Checker
- 🌐 DNS Checker
- ✅ Incognito test:
https://yourdomain.com— make sure the lock shows up
🚀 Final Thoughts
Using Namecheap for domains, Hostinger for hosting, and Cloudflare for performance/security is a powerful combo, as long as you manage SSL correctly.
Even without using Hostinger’s nameservers, you can:
- ✔️ Keep your DNS under Cloudflare
- 🔒 Install SSL securely
- 💻 Serve your site with HTTPS + fast DNS + protection
💬 Need Help?
If you’re still stuck or want our team to handle it for you, drop us a message at hypex.digital or contact [email protected]. We’ve done this a hundred times — and can get your SSL working fast.

